Upload files when the documents you want to analyse are on your computer, or when you want to try Hoppa on a small set of documents before connecting a source system.
Before you start
You need to be an Admin, Manager or Member to upload files.
Add a file upload source
- Open the session.
- In the sidebar, select + next to Data sources. The Add data source page opens.
- Select File / folder upload, then select Continue.
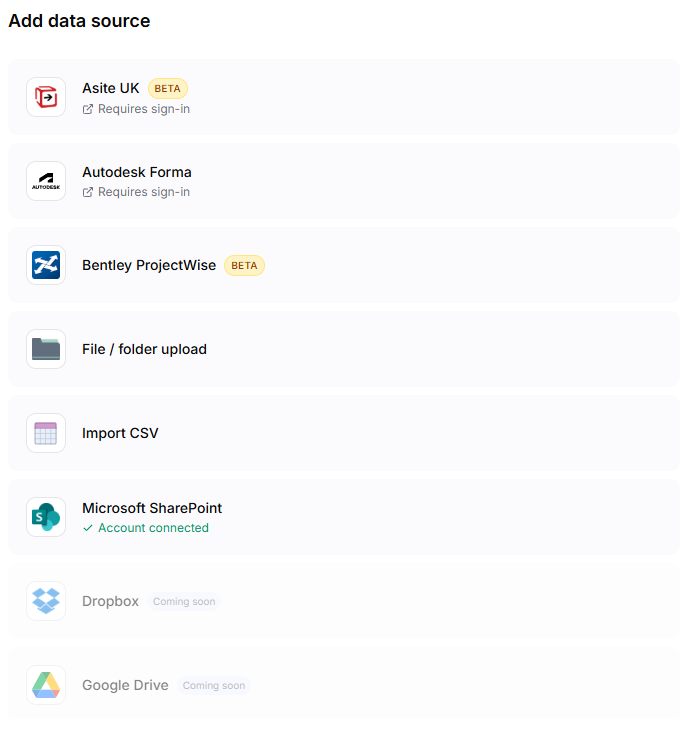
Add data source page listing the available connectors
Upload files
Drag files or folders onto the upload area. Or select browse to choose files from your computer.
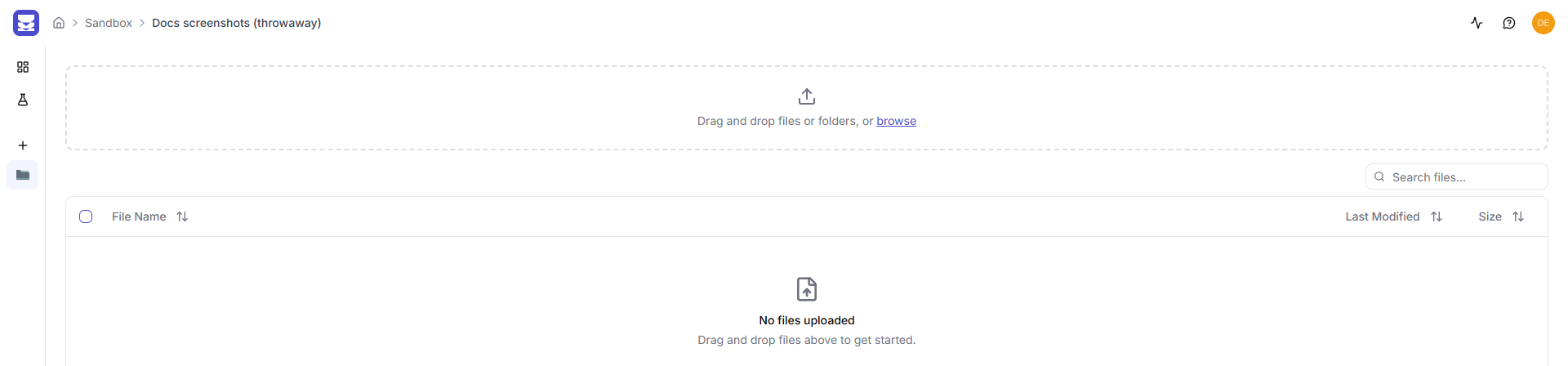
File upload area with a drag and drop zone and an empty file list
- Folders must be dragged and dropped. browse can only choose files. Hoppa uploads every file inside a dropped folder, including subfolders.
- Progress appears in a panel in the bottom-right corner. Each file shows its progress, and you can cancel or retry it there.
- Stay on the page until uploads finish. Your browser warns you if you try to leave while files are still uploading.
Uploaded files appear in the table below the upload area, and on the session's Overview page.
File names must be unique
Hoppa skips any file with the same name as one already uploaded to the session, and tells you how many it skipped. Files are stored by name only, so rename files that share a name in different folders before you upload them.
Zip files
You can upload zip files. Whether Hoppa analyses the files inside them separately depends on the Unpack zip files setting. See Session overview.
Remove uploaded files
- Open the File / folder upload source in the sidebar.
- Select the files to remove, then select Delete. To remove every file, select Clear all with nothing selected.
- Confirm by selecting Delete.
Removing files cannot be undone.