This quickstart takes you through all four stages once: create a workspace, add a session, upload some files, run the analysis and export the results. It links to the detailed guide for each step.
Before you start
You need to be an Admin or Manager to create a workspace. Members can start at step 2 in an existing workspace. See Roles and permissions.
1. Create a workspace
- On your organisation's landing page, select Create workspace.
- Enter a Workspace name. Hoppa fills in the Workspace ID for you.
- Under Blueprint, keep Start from scratch or choose a blueprint to start from a ready-made standard.
- Select Create workspace. Hoppa opens the new workspace.
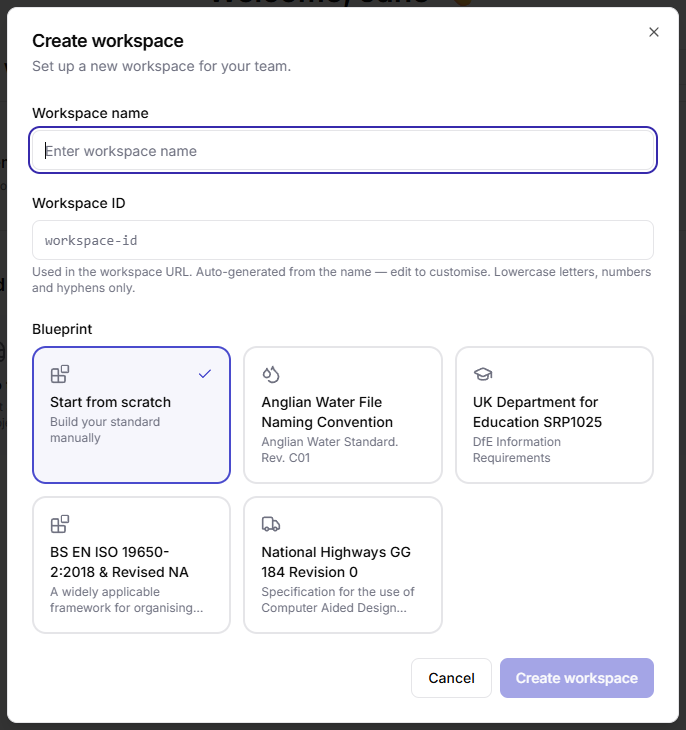
Create workspace dialog with name, ID and blueprint options
If you started from scratch, open the Refinery tab and add at least one classification, search field or tag before you run a session. See Configure.
2. Create a session
- In the workspace, select Create session.
- Enter a name for the session and select Create session.
Hoppa opens the new session on its Overview page. The session starts with a copy of the workspace's standard. See Create a session.
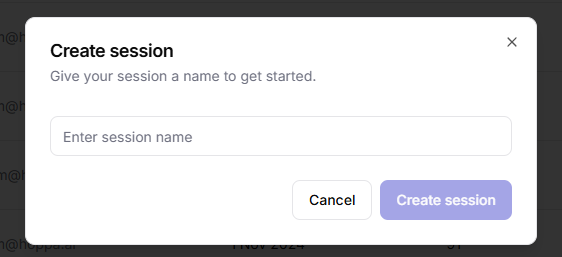
Create session dialog
3. Upload files
- In the session sidebar, select Add data source. If the sidebar is collapsed, this is the + icon.
- Choose File / folder upload and select Continue.
- Drag files or folders onto the upload area, or select browse to choose them.
The files appear in the Files table on the session's Overview page. To bring in documents from another system instead, see Connect.
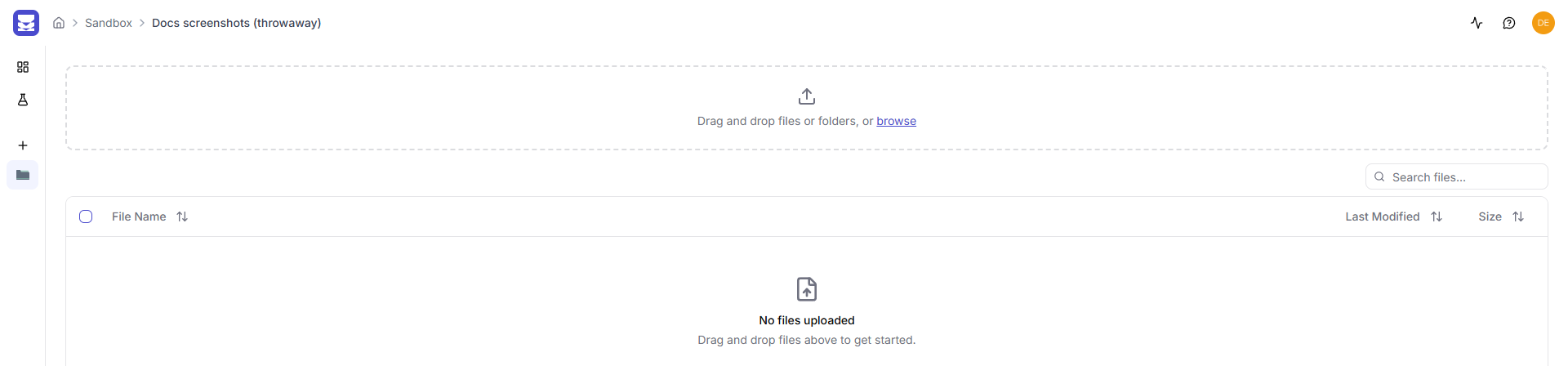
File upload area with a drag and drop zone and an empty file list
4. Run the session
- On the session's Overview page, select Run.
- In the Run session dialog, select Run.
- When Session queued appears, select View results.
If Run is unavailable, hover over it to see what is missing. A session needs at least one document and at least one classification, search field or tag. See Run a session.
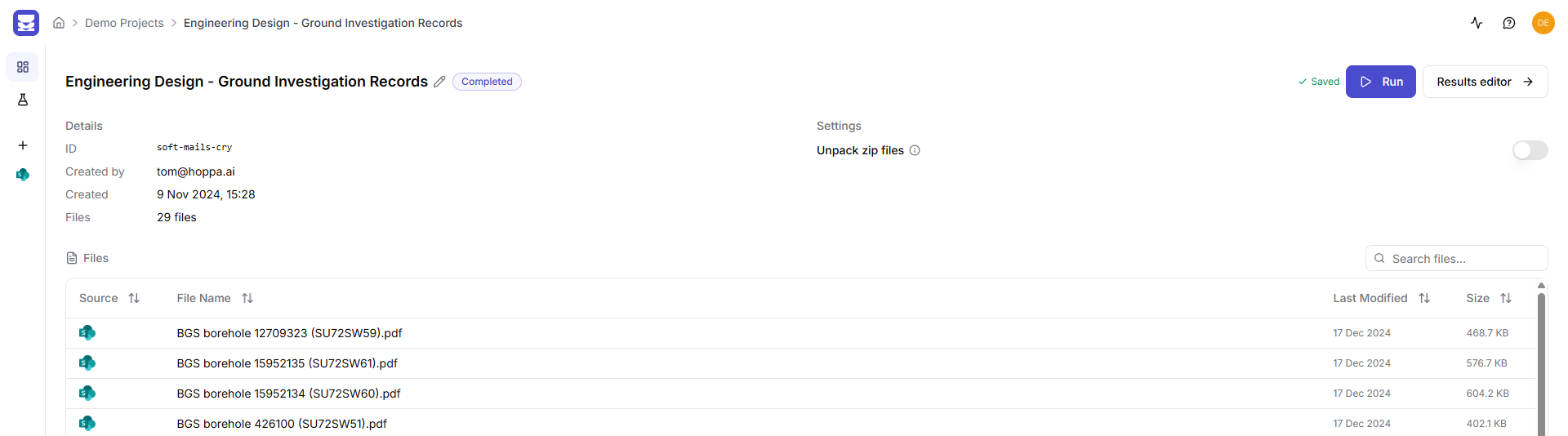
Session Overview page with the Run button
5. Review the results
The Results page shows one row per document, with a column for each part of your standard.
- The Session status bar shows how many documents have been analysed.
- The Certainty scores bar shows how confident the AI was in each value.
- Correct any values that need it, then select Save to keep your edits.
See Results: table view and Analysis and certainty.
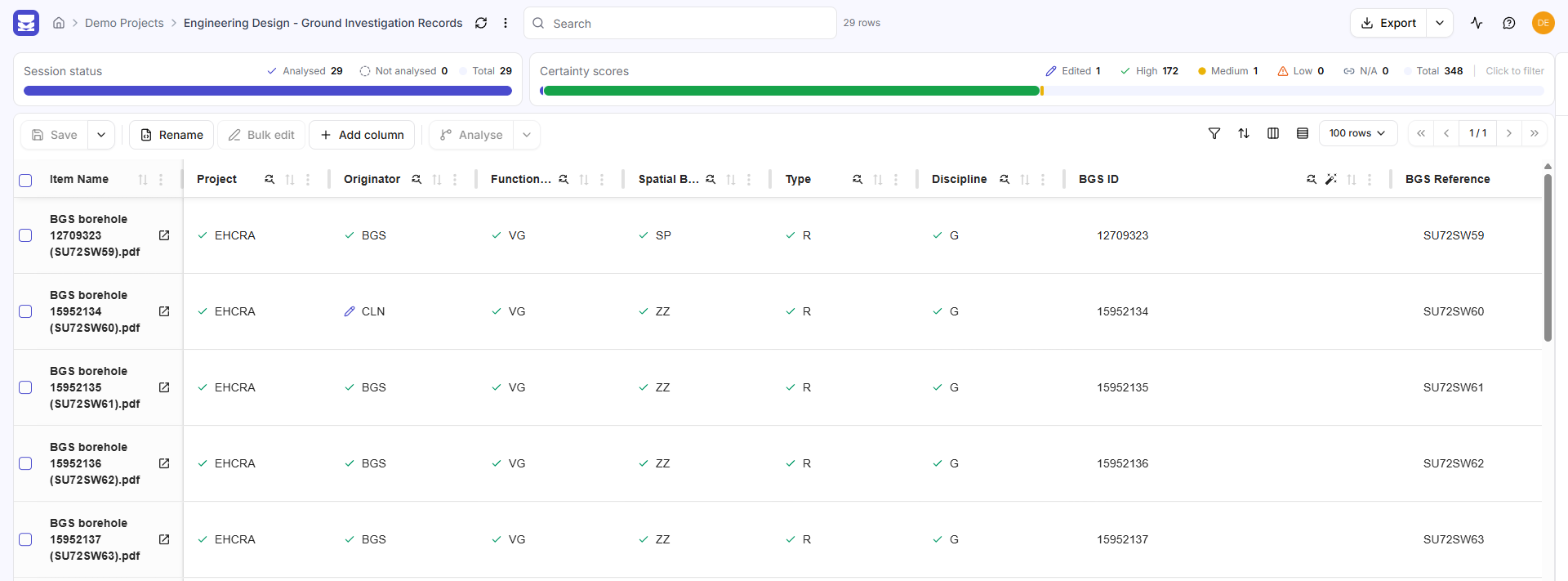
Results page with session status, certainty scores and the results table
6. Export the results
- On the Results page, select Export.
- Select Export to CSV, choose your options and confirm.
See Export to CSV for the export options, and Transmit for other ways to send results onwards.
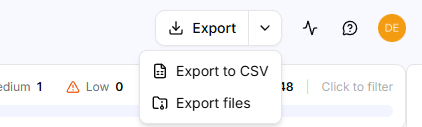
Export menu with Export to CSV and Export files
Next steps
- Learn how the standard works in The Refinery.
- Work through the User guide stage by stage.